Shaving Cream Easter Eggs
Give a unique marble effect to your Easter eggs with shaving cream. Here is a simple tutorial to help you with the cool decoration. It is sure going to be a hit with the kids.
Shaving Cream Easter Eggs
Dying Easter Eggs with Shaving Cream
Materials
- Hard boiled eggs
- Neon or regular food coloring (Liquid food coloring would usually require to be dropped in vinegar first for colorfastness. You can mix each drop with 1 tbsp vinegar.)
- Cookie sheet
- Shaving cream
- Straw
- Rubber gloves
- Cardboard sheet
- Paper towels
Steps
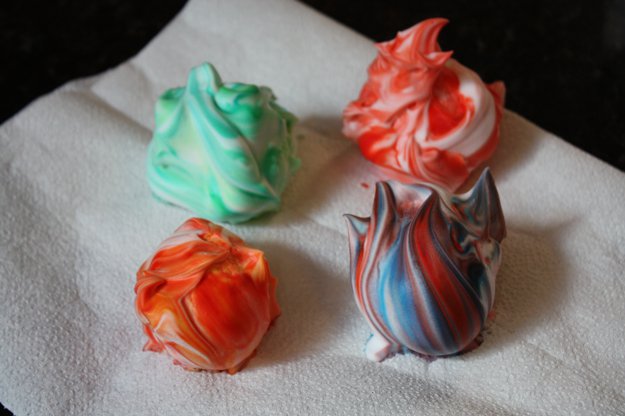
- Spread evenly about an inch deep layer of shaving cream on the cookie sheet.
- Drop food coloring randomly all over the shaving cream.
- Drag the straw over the surface of the shaving cream randomly to swirl the colors for a tie dye effect.
- Once you have the swirls of the desired pattern place an egg at one end of the shaving cream.
- Wearing rubber gloves, gently roll the egg in a straight line from one side to another.
- Pick up the egg and place it on the cardboard to prevent it from rolling.
- Let it sit till the shaving cream stuck to it starts to dry (about 5-10 min).
- Repeat with the other eggs.
- Clean the shaving cream off the eggs with paper towels until their surfaces are dry.
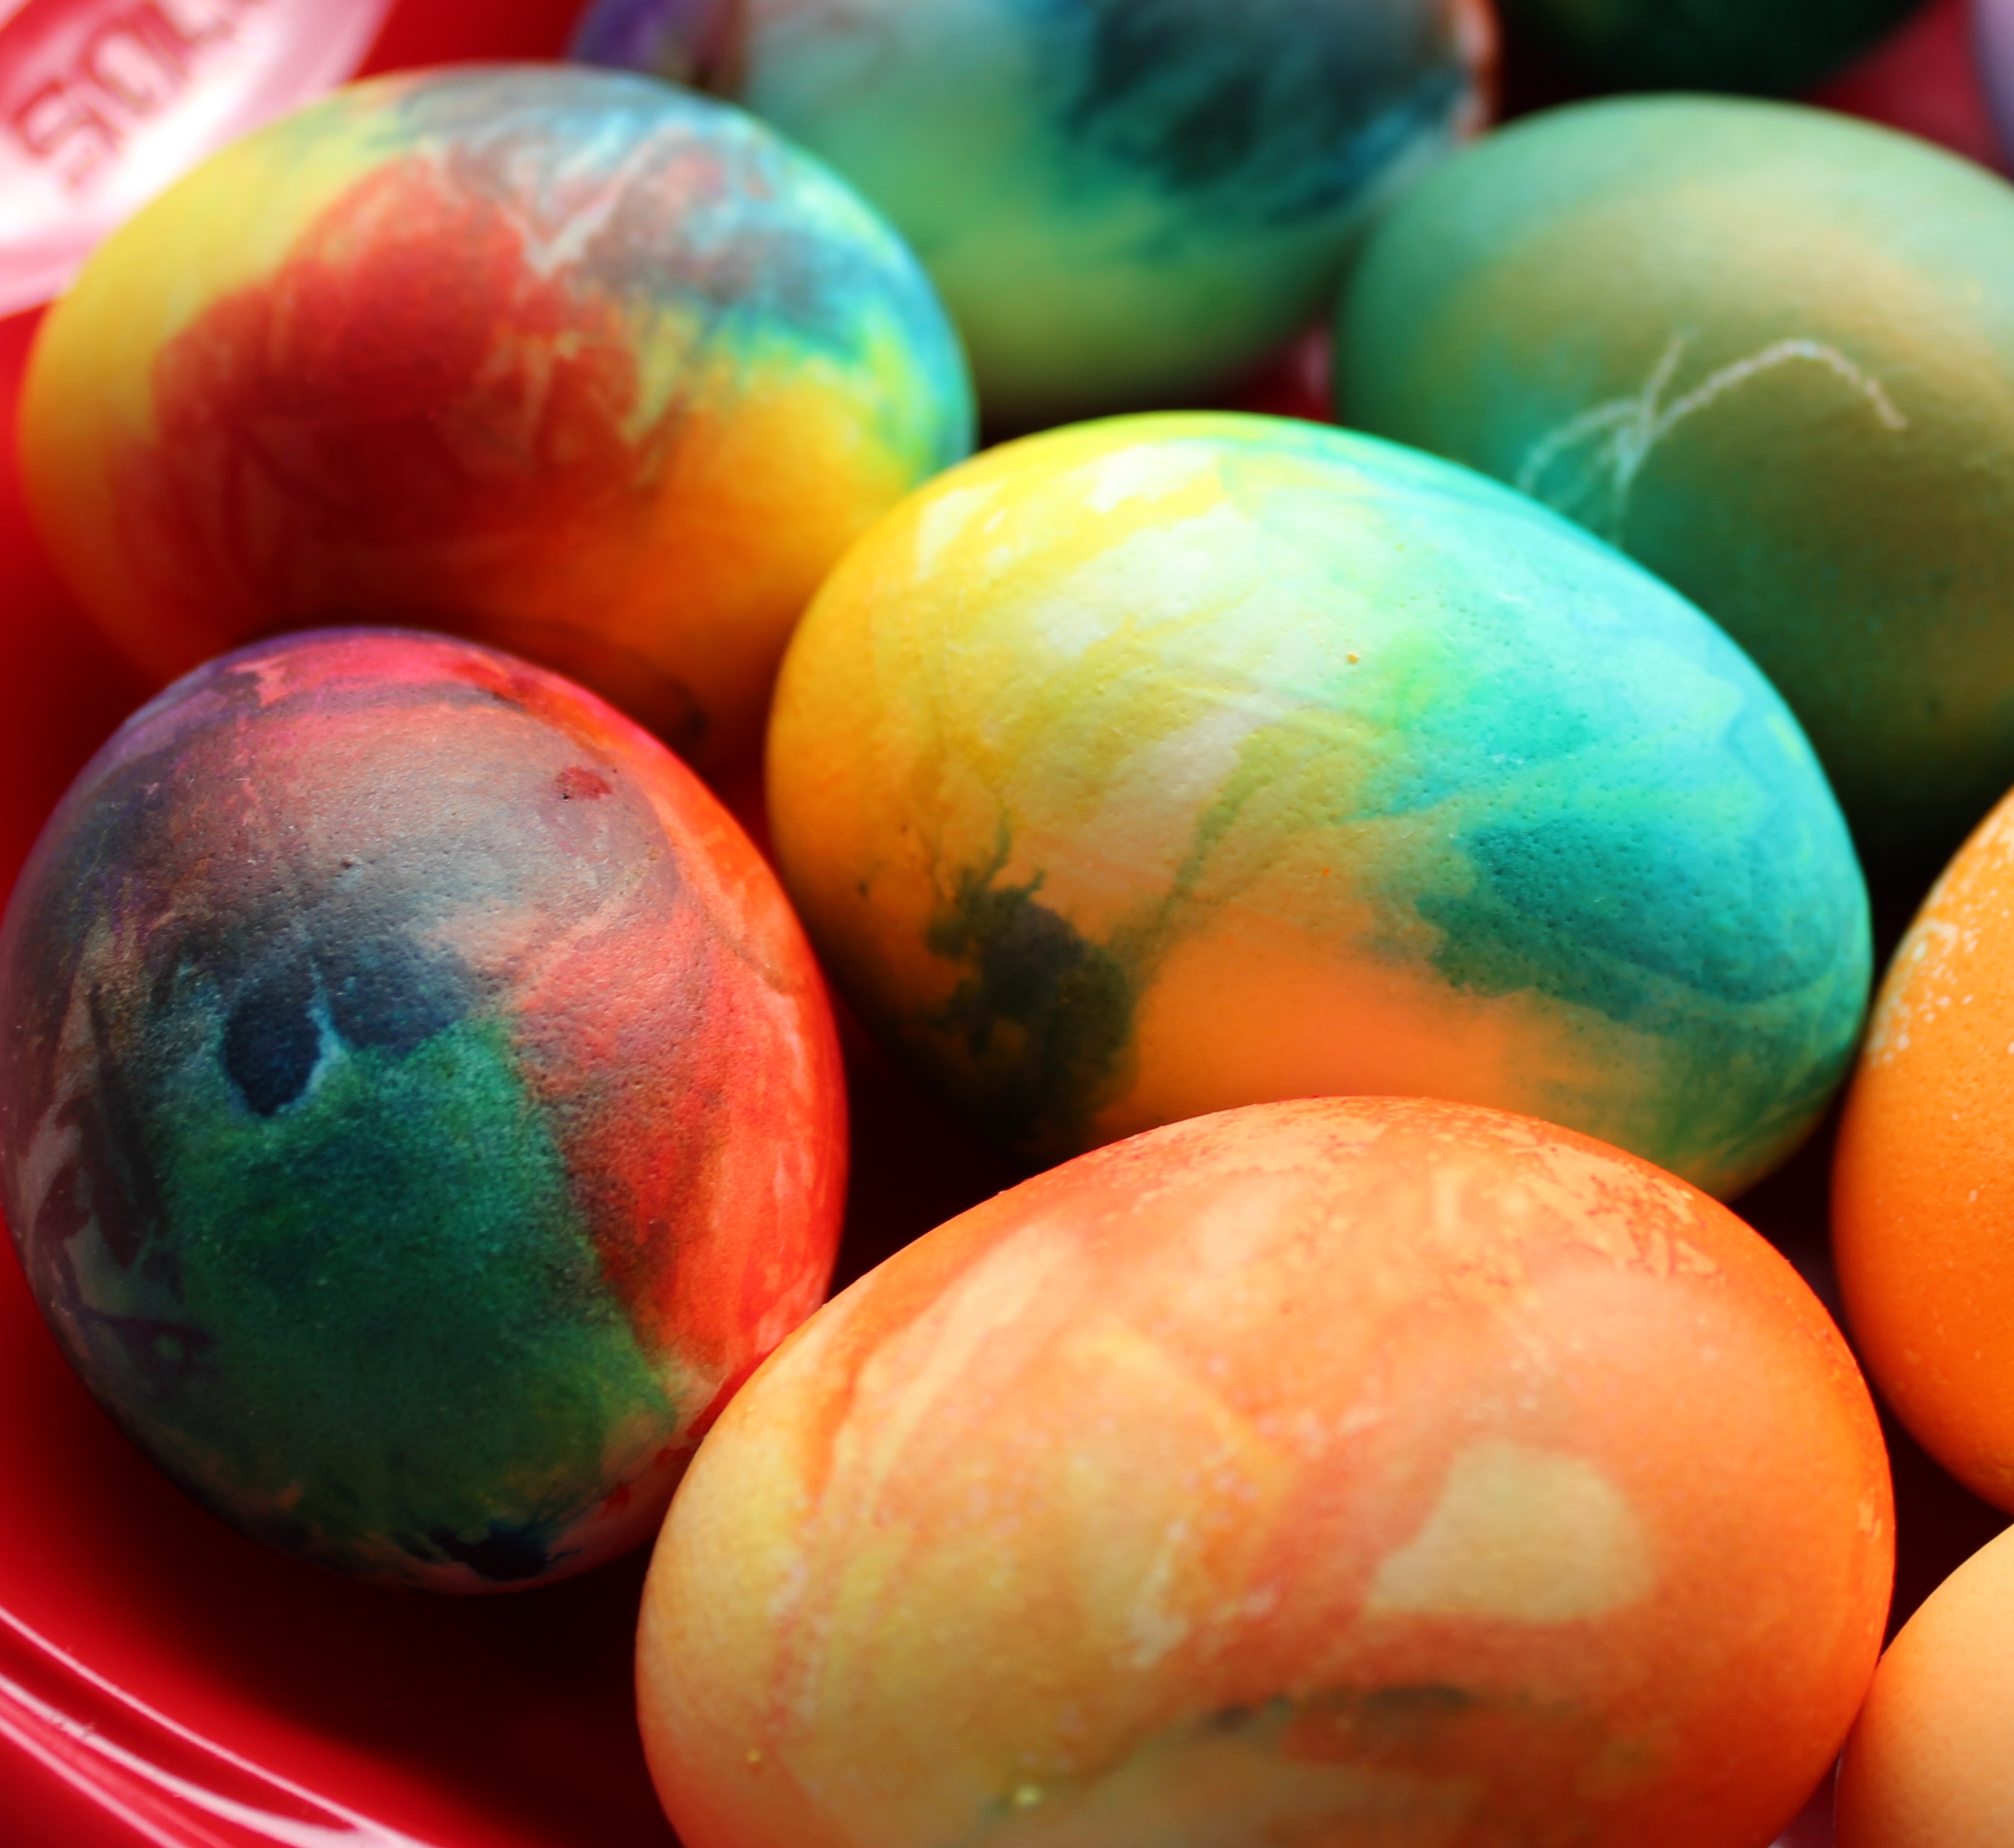
Dying Easter Eggs with Shaving Cream
You are done with your art. Roll the eggs around to appreciate the same. Ensure that kids don’t eat them as it might not be safe. They were coated with shaving cream, after all.