How to Make a Tie Dye Onesie: A Fun DIY Tutorial
When my best friend was to have her first baby boy, the onus of hosting her baby shower party was on me. The food arrangements were done, the decoration plans were made, but I couldn’t come up with any exciting activities for the guests. Finally, after much thinking, me and my girl pals decided to get everyone tie dye a bunch of white infant onesies in the backyard of her house. Everyone present enjoyed the activity and just couldn’t stop playing with colors.
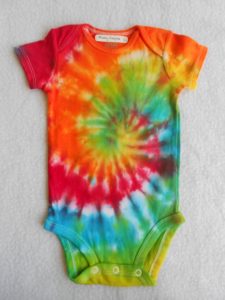
I did a spiral rainbow pattern, so here, giving the tutorial for this design only.
Instructions to Tie Dye a Baby Onesie
What you’ll need
- Tie dye kit (ours came with 12 stunning colors)
- A big table
- Disposable plastic table covers
- Plastic aprons and gloves (we also made it a point to wear an old T-shirt beforehand to protect our party clothes)
- Paper towels
- Ziploc bags
Steps for the Rainbow Spiral Tie Dye Pattern
- Wear the gloves and aprons, pick up the squirt bottles containing the colors of your choice, fill them with some water and shake them properly.
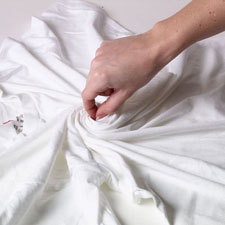
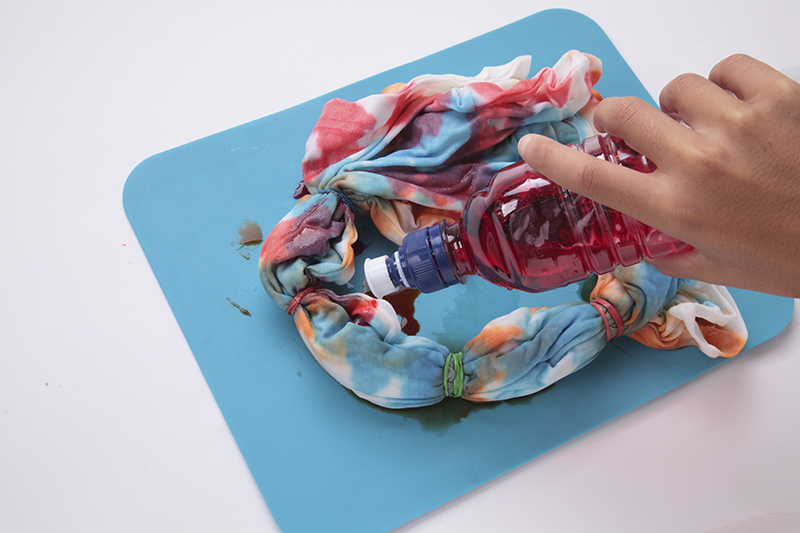
- Wet the onesie and pinch a place near its center, then holding it firmly, start twisting.
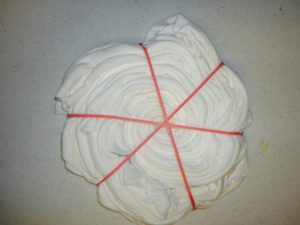
- Tie two to three rubber bands around the onesie in different directions.
- Choose your favorite colors and start dyeing the onesie.
- Put the tie-dyed onesie into the ziplock bag and leave it overnight.
- Wash the onesie thoroughly in warm water with a mild detergent and dry.
The next day we came back to my friend’s house with our washed and dried colorful onesies and presented them to her. The smile on her face was just indescribable.
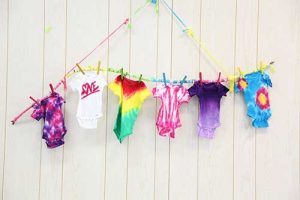
I must confess that the rest of my team did a fantastic job.
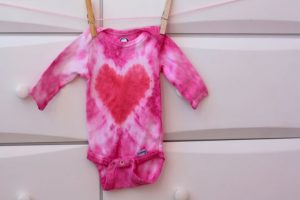
One of the guests made this cute tie dye baby onesie with a red heart (full of love).
Not just baby onesies, adult onesie pajamas too can be infused with fresh colors using the tie-dye method. Since tie dye patterns are many and varied, I am sure you won’t be running out of ideas to design the onesies, and even your baby’s bibs and beanies.

