How to Make Paper Mache Snowman
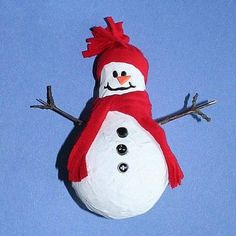
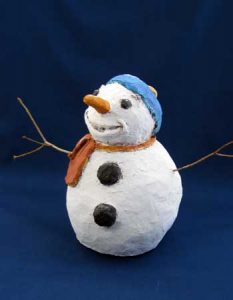
Last year, before my son’s school, closed for the holidays, a long list of winter home assignments were given that also included making an interesting Christmas-themed craft. With the ongoing snowfall outside my home, I thought of making a cuddly snowman with paper mache and deck it up. My son and I arranged the supplies, and here’s how we accomplished the project.
Paper Mache Snowman Tutorial
Supplies
- Plastic Bags (3 grocery bags)
- Cereal box board
- Paper mache paste (I prepared it by mixing 1 cup of flour with 1 ½ cup of water)
- Shredded paper
- Newspaper
- Masking tape
- Buttons
- Small Styrofoam balls
- Hot glue gun
- Paints (I used only white, black, and orange paints)
DIY Instructions
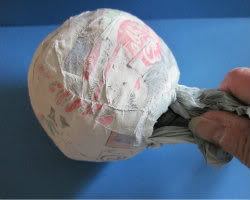
- Fill the plastic bags with paper shreds to form hard balls in such a way that one is bigger than the other.
- Seal the mouth of the bags with masking tape.
- Dip the remaining shredded paper pieces in the paper mache paste and attach them over the balls and leave it for drying.
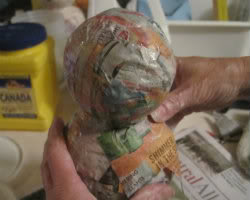
- Make a hole at the bottom of the top and middle balls and pull out the shredded paper.
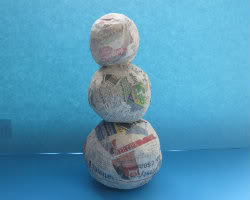
- Stack the balls one over the other according to their size and glue them together.
- Add few more layers of paper mache on the balls and let it dry completely.
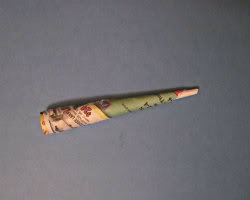
- Roll a newspaper strip into a cone and seal it with the masking tape. Cover it with a couple of paper mache layers, dry, and paint using the orange paint.
- Apply few coats of white paint on the snowman and wait till it fully dries.
- Make a hole in the small ball and glue the small paper cone into it. (now you have a nose for the snowman)
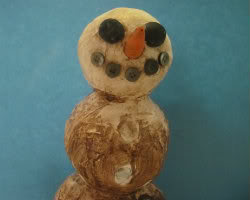
- Attach the Styrofoam balls to the small ball (head of the snowman) for the eyes and paint them black. Glue few buttons below the nose and at the center of the other two balls to make the mouth and dress buttons, respectively.
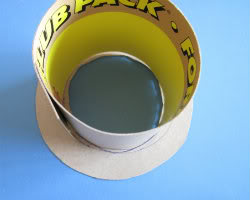
- Cut a small piece of the cardboard cereal box, roll it into a circle, and then glue the ends. Place it on another cardboard piece and trace a circle of a larger diameter. Cut out the circle and glue them together to make the hat.
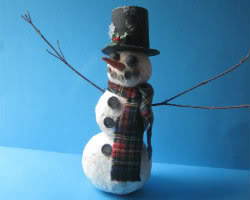
- Paper mache the hat and paint it black after drying. Place it on the head of the snowman. (For the ornaments, I attached a plastic snowflake and holly to the hat)
My sister gave a dashing look to my snowman by wrapping a small fabric strip around the neck and attaching two sticks at the sides for the arms. Don’t you feel the cheerful snowman is already rejoicing the winter?
Some Out-of-Box Ideas to Build a Paper Mache Snowman for Christmas
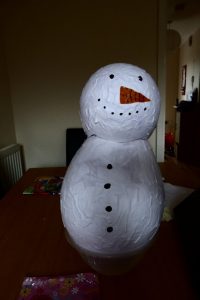
How about a paper mache snowman piñata up for display during the festive season? Here, the trick is to inflate two balloons separately (the size of one inflated balloon should be larger than the other) and paper mache them. After drying overnight, deflate the balloons by cutting the knot, and glue the smaller paper mache ball over the bigger one. With a felt pen, draw the eyes, nose, and mouth of the snowman (there are other decoration options too).
A tactful way to recycle a burn out bulb is by applying paper mache all over and painting it white to make an adorable paper mache Christmas snowman.
Instead of using paper strips dipped in glue, you can mold a snowman in a similar fashion with paper mache clay available at the store or prepare it at home. Why not make it a tree topper for glorifying your Christmas décor?
Since kids can relate to their favorite snowmen Olaf and Frosty, you can get creative with the paper mache project. Also, there are tons of ornaments for dressing them up for the winter.

