How to Make Your Own Glitter Glue: A Myriad of Ideas
I remember the fun I had during a summer outing in my childhood when I learned making sparkly, shimmery glue with glitters. The old pics I stumbled across some months back reminded me of the entire thrilling experience, so much so that I have made up my mind to do this same activity with my kiddos this summer. From the bits and pieces my memory could retain along with some help from the net, I managed to shape up this tutorial.
Homemade Glitter Glue: Step by Step
Things you’ll need
- Clear glue ( go for bigger bottles if possible)
- Small containers ( numbers depending on how many you want to make)
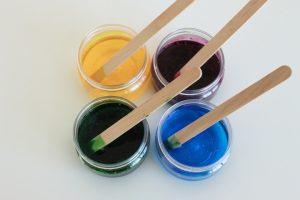
- Food coloring packets ( I brought a red, blue and green one)
- Popsicle sticks ( for stirring)
- Glitter pouches
Steps to follow
- Pour out the glue into the containers ( depending on how many glitter glues you want)
- Dip a popsicle stick into the gel food coloring, put it back to the container and stir well till the color is distributed evenly
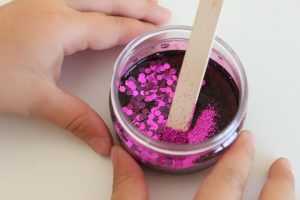
- Now comes the ultimate part – adding glitters to the container (you can add glitters matching with the food colors, or go for a mix-and-match option for a stunning visual impact). Make sure that the glitter and glue are mixed in a proportionate way.
- Stir again
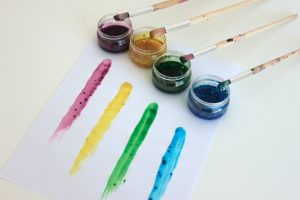
Voila! You have your colorful glitter glue done. Wait no further and paint it to see how it looks. You can put it in small glue bottles having a tip for easy usage. I try stirring it before every use as the glitters tends to settle down. To make the glue dry quickly consider putting it in a warm place, or if you are not in a hurry, allow it to dry overnight for a better effect.
Though I opted for the easy way, you can make the glue at home and then fill it with glitters.
Interesting Stuff You Can Make Using Glitter Glue
Let me share with you some of the creative things I chanced upon to be made with glitter glue.
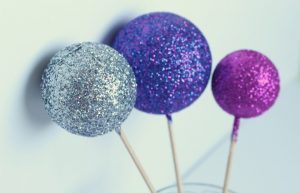
Dab some glitter glue on polystyrene balls, after making a hole in the center using a skewer, secure using a pin and you have some gorgeous ornaments at hand to decorate your home during the festive season.
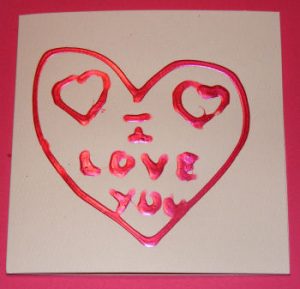
My kids and I have finished almost half the glue by designing numerous cards for our kith and kin. It can’t be simpler though as you just need to sketch out the design with a pencil and embellish it with the sparkly glue. Allow it to dry before sealing it into an envelope.
Get stylish stickers by simply making a design in black at the back of a sticker paper and tracing over it in the front with your homemade glitter glue.
My friend made tattoos with the bottle of red glitter glue I gifted her. Choose a safe and non-toxic adhesive and make the glitter glue; apply a ready-made stencil on your skin; paint on it; pull out the stencil and use a brush to dust off any loose glitter.
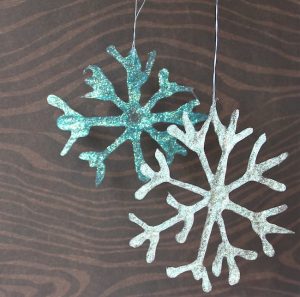
To make pretty snowflakes, place the templates under the wax paper and draw the design with the glitter glue you have made, allow them to dry through the night and peel them off. Attach a string to it using a needle and decorate them on your walls.
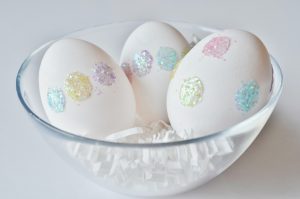
I put these glitter dots on the eggs for the Easter dinner last year to make cute and simple centerpieces.
I heard a friend of my mine making glow in the dark bottles with glitter and glow paint for her son, who is a fussy sleeper. I can’t wait to get a few tips from her about the same. People do speak about designing fabric with the non-toxic glue, though I am not indulging in all that as of now.
My saga with glitter glue seems unending with a whole bunch of to-dos line up like a sensory bottle, pens, wall painting and the list is never ending.
TADA for now…….

